
So before Christmas I got myself a Cricut cutting machine for vinyl decals and paper craft and since then I've been toying with the idea of using it to cut circuit boards. Using slug repellant copper tape from the local hardware store allows me to cut circuit of any length and a max width of approx 30mm.
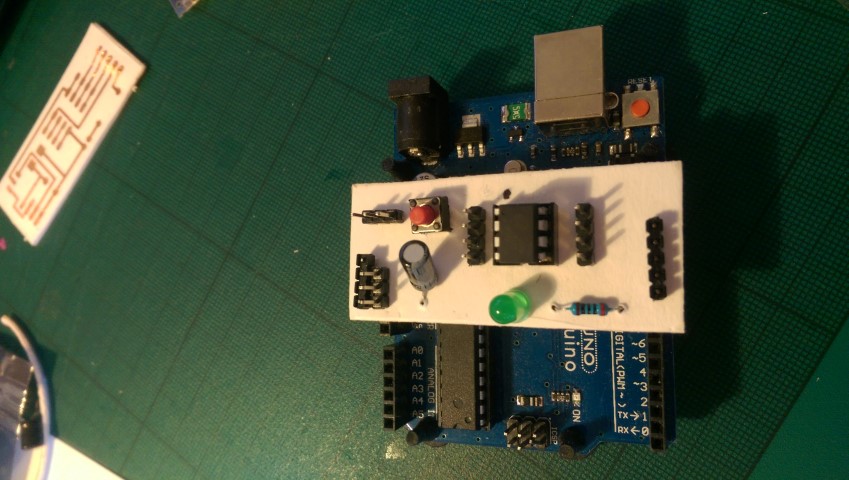
So I found a nice little starter here : Arduino-Attiny85-programmer which I will use for the actual test circuit.
In order to make a nice cut file for the Cricut I need to first take the PCB png files and bring them in to Illustrator and convert to a nice smooth shape. Export the new file to a .png.

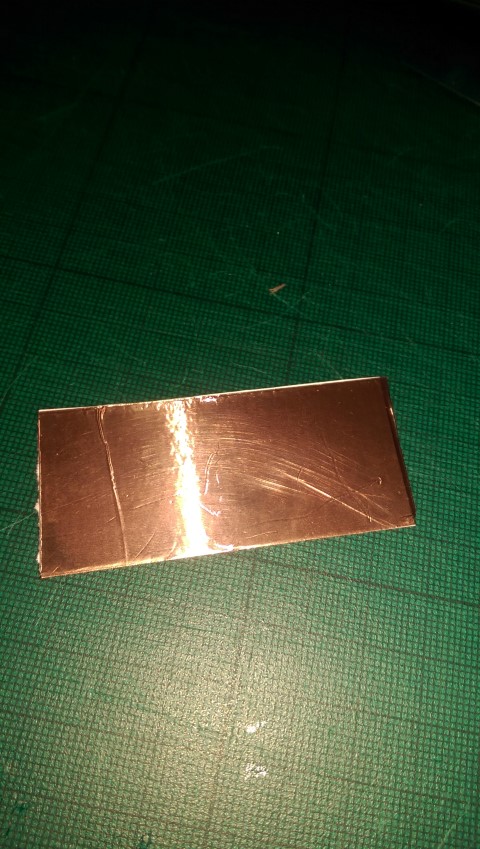
Prepare the Copper tape.
Using a small 70mm piece of tape I removed the backing and applied smoothly to a piece of 200gsm paper and cut to size.
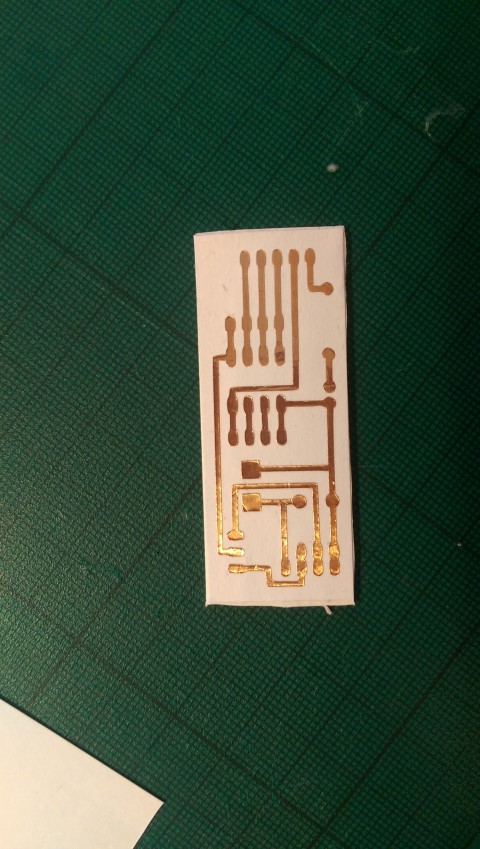
After importing the png file into Cricut explorer I rotated and resized to 25mm height and set to cut. Cricut was set to Custom/Vinyl which gave a nice cut which was east to weed out afterwards.

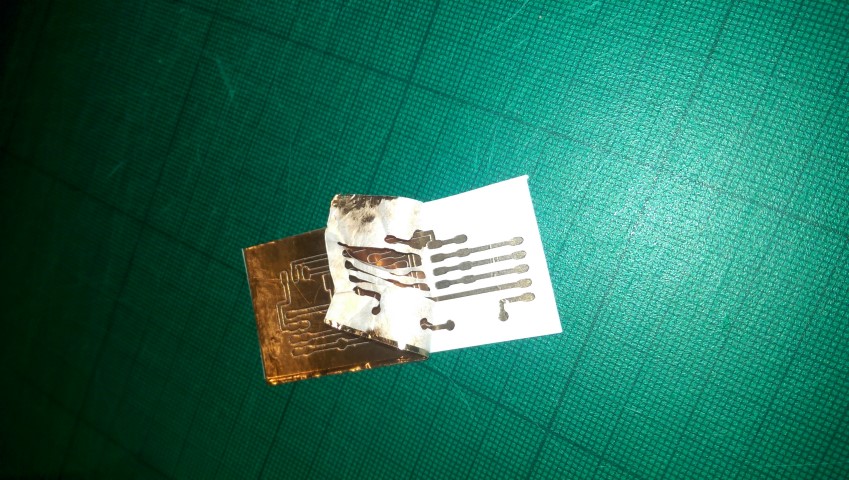
Using a weeding tool, I carefully removed all the excess copper trying not to lift the circuit from the paper.
Once complete I glued the whole board on to some 1mm card to give it some strength.

Once that was dry it was time for the holes. Rather than try and drill through the cardboard I used the weeding tool to punch through for each of the holes.
Next its time for the components. As the adhesive on the copper tape is not that great you need to be careful when pushing the components through.

Solder each of the components in place.

Finishing Up
Once the soldering was complete I added a layer of glue to the whole underside of the circuit to ensure the copper tape stays in place. let it dry and tested and viola works a treat.
I'm going to see how small I can get with the Cricut machine and see if I can print some SMD breakout boards.